Banner Creator
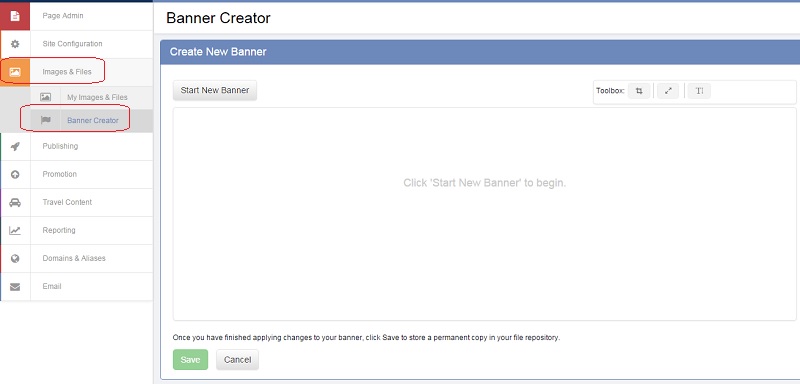
To get to the Banner Creator tool, select Images & Files and then Banner Creator.
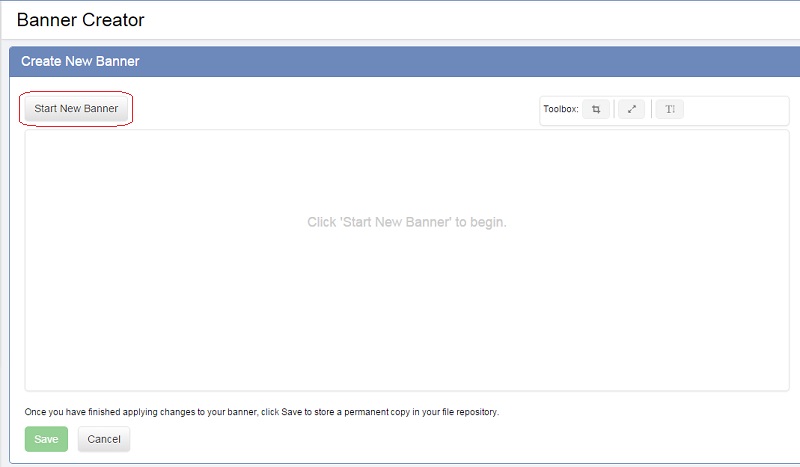
To begin, select Start New Banner.
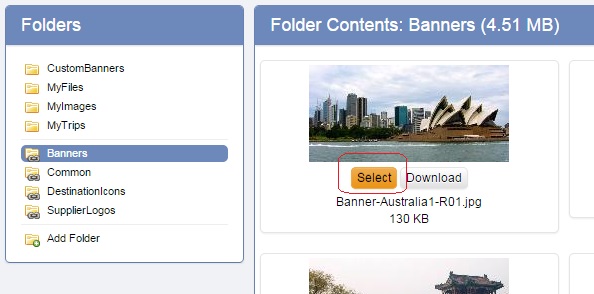
You will be prompted to select an image from your Images and Files. You can upload your own image, or choose from one of the images provided for you in any of the defaulted folders, like the Banners folder. Hit Select on the button below the image you would like to use.
You will now see your image showing in the Banner Creator.
There are three options available to you for editing within the Banner Creator:
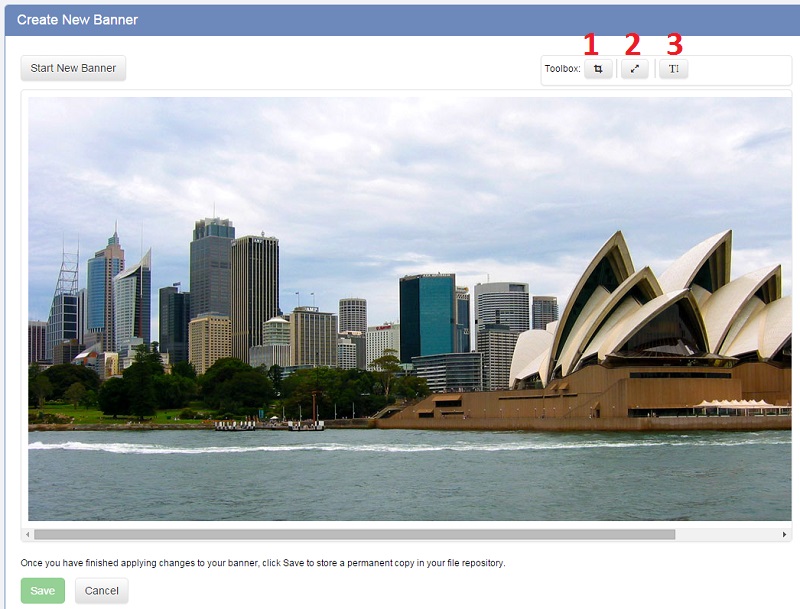
- Crop Image: This allows you to remove the outer portion of your image or banner.
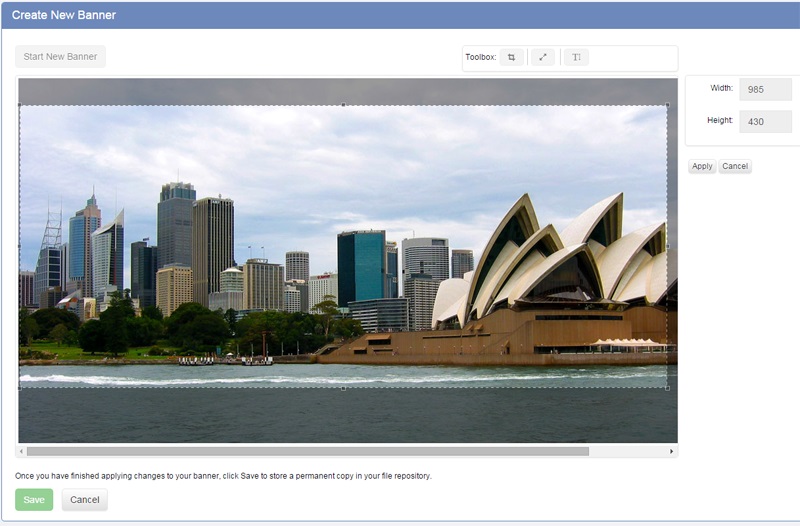
Select where you would like the new corner of your image to be and drag your mouse to where you would like the opposite corner to be. The Banner Creator will gray out the portions of the image that will be removed if you apply the changes. To the right, you'll be given what the new width and height will be (in pixels). Select "Apply" to the right when ready to make the change.
- Resize Image: This tool allows you to change the height and width of your image.
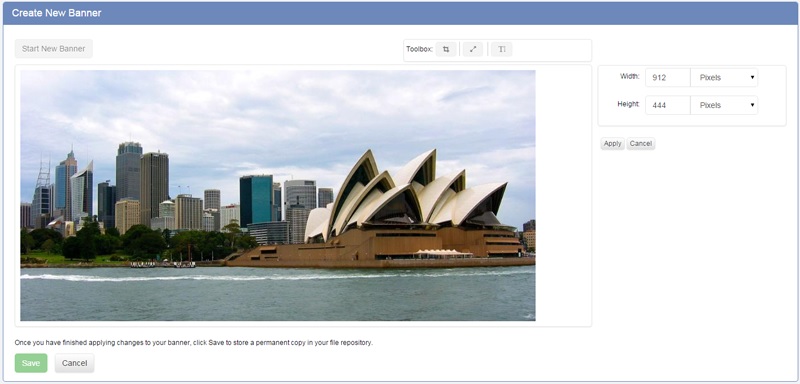
To the right of the image is where you can adjust the height and width. The image size is defaulted to pixels and will show the current height and width of the image. Simply change the numbers to change the size. You can also change the height and width by percentage by selecting the drop-down menu to the right of the width and height numbers to select percentage. Using the percentage option is an easy way to retain the same ratio as you can change both height and width by the same percentage amount.
- Add Text to Image: This tool allows you to add text to your image.
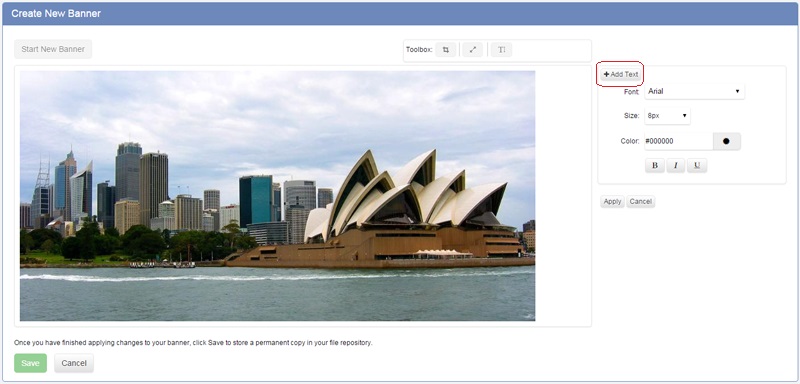
To add text, select "+ Add Text" to the right of the image and then click on your image where you would like your text to appear. This will add a small text box to your image where you can type in your text. Font, size and color of your text can be changed by using the options on the right. To change the color, you can type in a hexidecimal color code, or you can select the starburst on the right which will open a color selector:
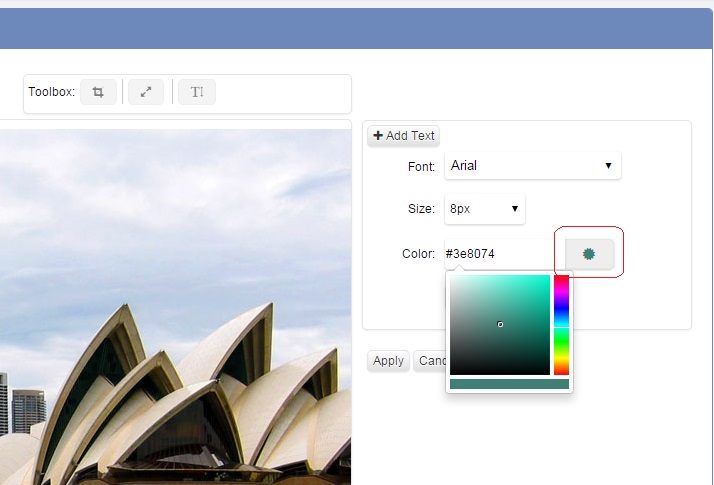
When finished, select Apply.
After all of your changes have been made, select Save at the bottom of the page. You will be asked to name your banner and select Save again. Your new banner can now be found in your Images & Files under the folder "CustomBanners."


